Brewing Coffee with the Orea V3
Share this article
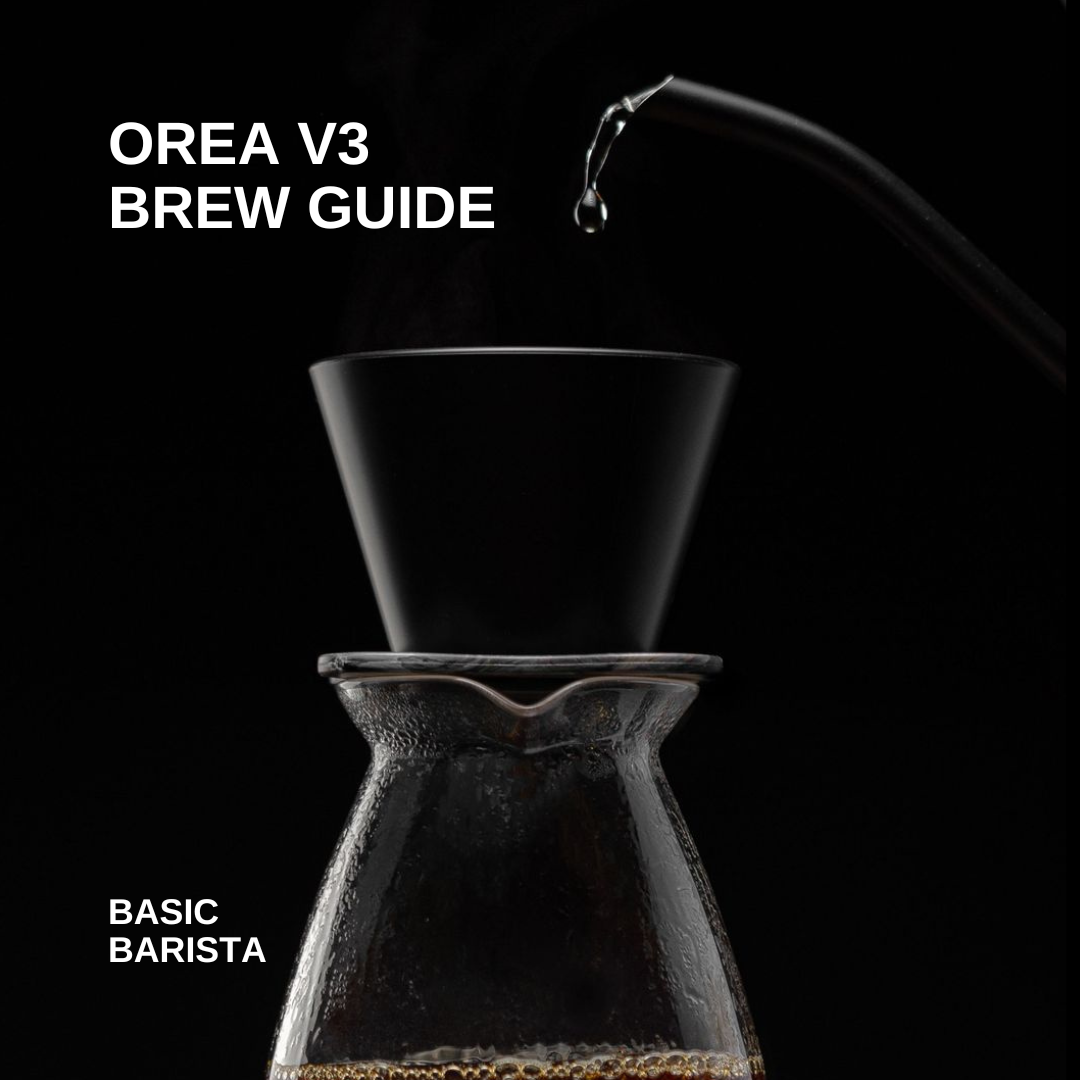
The Orea V3 Coffee dripper is a much loved coffee brewer in the industry, with its larger holes that create a fast flow you can grind finer, extract higher and all with less chance of stalling.
The Orea V3 also has an array of different filter papers you can use, each having their own different style and unique properties often creating an entirely different tasting coffee.
We currently have the Basalt 185 size dripper in stock here in Australia, this currently made from a different material (Polycarbonate) from its former clear counter part and in fact has better heat retaining properties due to its better insulation.
We recently wrote an article with 3 different recipes for the Orea V3 coffee dripper, each uses a different brew method in combination with different filter papers resulting in different tasting coffees however in this article I wanted to focus on an approachable and easy to brew recipe that you can use for any coffee. Read this article here.
You Will Need:
To make this recipe you will need the following equipment:
1x Kalita Wave Filter Paper (185 size)
1x Server / Mug of choice
1x Gooseneck kettle / Hario Drip Assist Tool
20g Filter roasted coffee beans
Recipe:
-
Begin by adding a Kalita Wave filter to your Orea V3 dripper. Pre-wet the filter using hot water. This step will remove any papery taste from the Kalita Wave filter and helps bring the Orea V3 to an optimal brewing temperature. (This is known as pre-wetting and pre-heating your dripper.)
-
Grind 20g of coffee beans to a slightly coarser setting than your previous recipe. Aim for 25 clicks on the Comandnate grinder. Add the ground coffee to the Orea dripper. Give the Orea a gentle shake to evenly distribute the coffee grounds making what should look like a flat bed of coffee.
-
For this brew recipe, we'll start by pouring 60g of water in a fast, even pour, making sure to cover all of the coffee grounds.
-
Allow the coffee to draw down completely before moving on to the next pour. This ensures proper extraction and a higher water - coffee contact time.
-
For the subsequent pours, continue with 60g of water each time, but this time pour more slowly and gently. Lower the kettle closer to the bed of coffee to achieve a softer pour.
-
Repeat this until you reach a total brew weight of 300g. This will require a total of 5 pours of 60g of water (60/60/60/60/60).
By following these steps, you'll achieve a flavorful cup of coffee using the Orea V3 and the Kalita Wave filters. Enjoy the balanced taste and the clean finish that this recipe brings to your daily coffee routine.
How the Hario Drip-Assist can replace your Gooseneck Kettle:
The Hario V60 Drip Assist is the perfect solution for home coffee brewers that don't have a gooseneck kettle, the Drip Assist can sit on top of your coffee brewer of choice and easily dispense your water evenly over your bed of coffee grounds.
The issue with using regular kettles for brewing pour over coffee is that they are challenging to slow down for that vital low-agitation pour. The Hario V60 Drip Assist is a great inexpensive solution that will alleviate the need for buying a gooseneck kettle!
What filters can I use on the Orea V3 Brewer?
When it comes to the Orea V3 coffee brewer, you have a couple of options when it comes to filters. The most popular choice among users is to use the Kalita Wave filters with the Orea V3. The Kalita Wave filters are known for their quality and are widely available in the market. They provide excellent extraction and enhance the flavour profile of your coffee when used with the Orea V3.
However, Orea also offers an alternative for filter options with their specially designed tool called the Negotiator. The Negotiator tool allows you to use flat circle filters in your Orea V3 Dripper. This gives you the flexibility to experiment with different types of filters and find the one that suits your brewing preferences. By using the Negotiator, you can explore a wider range of filter options beyond just the Kalita Wave filters, opening up new possibilities for your brewing experience.
Overall, whether you prefer the popular Kalita Wave filters or want to venture into using flat circle filters with the Orea V3 Dripper using the Negotiator tool, you have the freedom to choose the filters that best align with your taste and brewing style. The Orea V3 provides options to cater to different preferences, ensuring that you can enjoy a personalised and satisfying coffee brewing experience.
How to always have Fresh Coffee:
We have all been there, you are about to brew coffee and then you are left with a sad, stale cup of mediocre coffee water 😩
When it comes to storing your coffee beans, it's crucial to consider a few factors that can affect their freshness and flavour. Below are some some key considerations to preserving your coffee beans:
-
Air & Moisture: Air and moisture are major culprits in deteriorating coffee beans. To combat this, opt for vacuum-sealed or air-tight canisters. Vacuum-sealed containers remove all the air, while air-tight options remove most of it. Another alternative is vacuum-sealed bags that provide a complete seal, preventing exposure to fresh air. Avoid frequently opening and closing coffee bags, as it reintroduces air and moisture.
-
Light: Exposure to light, especially UV rays, can degrade coffee beans. Choose storage solutions like opaque canisters or dark amber jars that block out light. If your chosen container is transparent, store it in a dark cupboard or any location away from direct light while still being easily accessible.
-
Heat & Time: Coffee beans prefer cool temperatures. Keep them stored in a cold, dark place to slow down the degradation process. Avoid warm environments, as higher temperatures accelerate the deterioration of coffee beans. Our single dose Centrifuge Test Tubes are a great option to capturing and storing your coffee at the right level for years!

By considering these factors and implementing proper storage practices, you can extend the life of your coffee beans and enjoy fresher brews for a longer period. Remember, cold, dark, and fresh storage conditions are the key to maintaining the quality of your coffee beans.
Read the full article we wrote on How to store your coffee beans.
Dose Water Temperature Matter?
The temperature of the water plays a significant role in the final taste of your pour-over coffee. When brewing, it's essential to use water at the right temperature, typically between 92°C and 96°C. If the water is too hot, it can over-extract the coffee, resulting in a bitter and harsh taste.
On the other hand, if the water is too cold, it may under-extract the coffee, leading to a weak and lacklustre brew.

Keep in mind that the right water temperature has more to do with the roast of your coffee and the type of coffee you use compared to anything else.
Finding the optimal water temperature allows for proper extraction of flavours and aromas from the coffee grounds, resulting in a well-balanced and delicious cup of pour-over coffee.


