How To Perfectly Set Your Paper Filter
Share this article
in this blog post we are going to cover how you can set every paper filter in your coffee dripper, mainly focusing on conical filters and flat bottom filters.
There are so many different filter papers available and while each and every filter has a slightly different result when it comes to setting your filter we have come up with a super simple method the get great results every time.

What is 'Setting your filter'?
For most coffee drippers a paper filter is needed to act as a permeable layer that separates your coffee grounds from ending up in your cup of coffee.
Most paper filters come folded in a pack of 40 or 100, there are all sorts of creping and bleaching techniques all resulting in a range of flavours, varying drawdown times and in result can make the same coffee bean taste completly different.
How to perfectly set your paper filter every time:
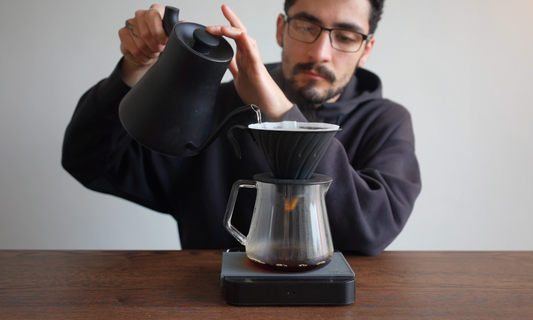
- First things first, unfold your paper filter and place it into your dripper of choice and place your coffee dripper over a cup or coffee server.
- Next with your non dominant hand, hold the top edges of your filter paper in place, this get's easier with practice.
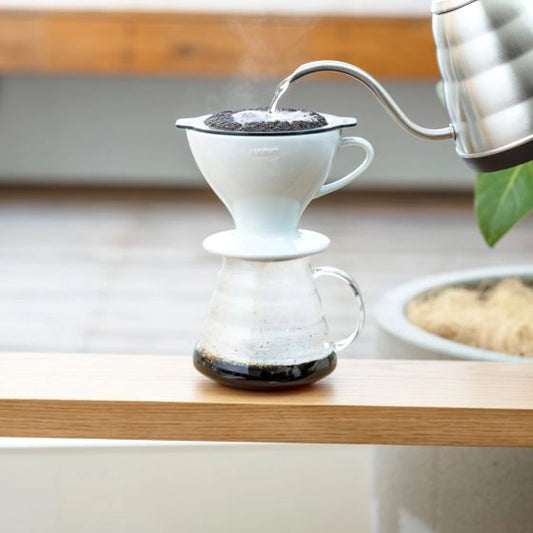
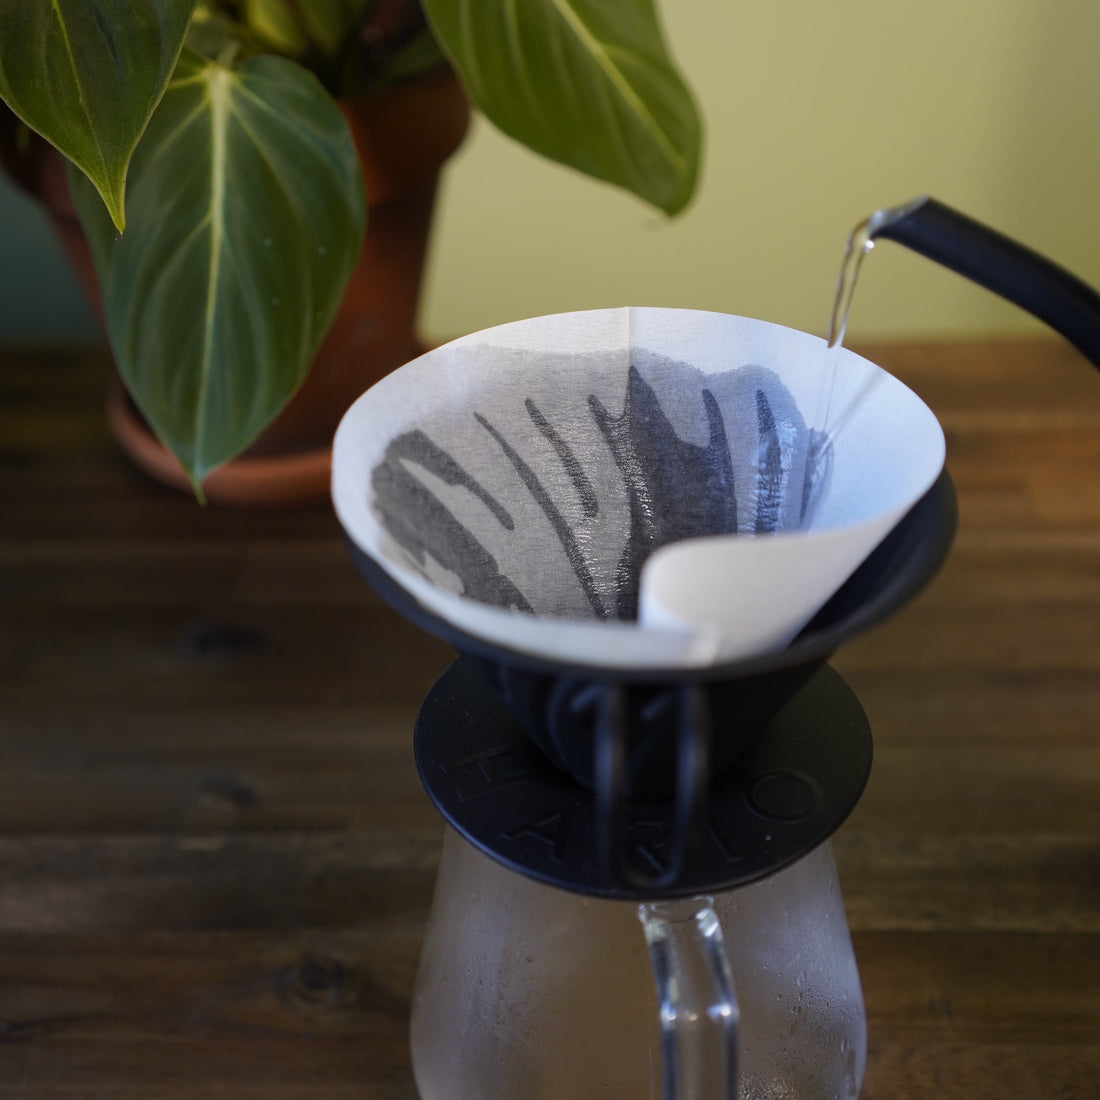
- Using you dominant hand start pouring hot water into the very centre of your dripper, for conical filters this is the edge of the cone and for flat bottom filters this is the centre of the bottom circle.
- Continue holding your filter in place and work your way up from the centre of the filter to the bottom edge where your dripper base meets the wall of the dripper and then proceed to work your way upwards towards the top of the wall of your dripper.

Start from the fold
When you are pouring water into your filter paper your filter will start to set into that position so where you start to pour actually does make a difference on how well your filter sets to the dripper. This applies just for conical drippers.
Depending on which way you fold your filter seam over you are left with a flat side and a lifted up side. I prefer starting from the flat side and continuing my pour in that rotation to set the filter as much as possible prior to meeting back up the the lifted up side.
I found that when I heavily crease my filter seam it isn't always in the most premium position so to counter this, when I first take my filter out of the packet I simply pinch the two edges together to open up the cone and then place this into my dripper. This allows you to create the edge depending on the exact position of your filter to dripper.
How to correct your filter
We don't always get it right, I have off days where the filter just won't sit correctly.
If you just finished pre-wetting your filter and feel like you can do it again better, don't stress this is how to correct your filter.
Make sure all the water used to pre-wet your coffee filter has drawn down, then with 2 hands pinch the filter (one hand on the folded seam and the other on the opposite side) and lift up. Lift the filter completly off the dripper and then place it back down, with your finger gently push down on the bottom of the cone until the filter is evenly touching the walls and looks to be in a better position.
After this step, use some more hot water and rinse your filter again to help set everything in place.
It might be worth mentioning that when setting flat bottom filters, correcting your filter (particularly the Kalita Wave filters) are much more difficult as they fold out to become a flat circle and don't hold their folded shape.

How to set your filter with a spoon
Some baristas like to use a spoon to set their coffee filter, and a lot of the time it works like a charm here's how:
- Place your paper filter into your coffee dripper, this technique works best with conical filters.
- Using the back of a spoon place this against the folded over seam on your paper filter and gently manoeuvre this into a position that looks even.
- Start pre-wetting your paper filter from the centre to the walls
- Remove the spoon and you are ready to start brewing!
