How To Make a Cappuccino - Like a Pro Australian Barista
Cappuccino is one of the most recognisable and loved milk-based espresso drinks, it's a balance of rich espresso, creamy milk and velvety silky foam topped with a fine dust of chocolate powder. In this guide, I’ll show you exactly how to make a proper cappuccino for both takeaway and dine-in coffees, explaining shot recipes, milk texture, and a few pro techniques that you can use to take your cappuccino to the next level.

What You’ll Need
- Espresso machine with steam wand
- Espresso Grinder (dialled in to your espresso recipe)
- Milk jug
- Fresh milk
- 6oz ceramic cup (for dine-in)
- 8oz takeaway cup
- Chocolate powder (optional but an Australian tradition)
1. Making the Espresso
For Takeaway (8oz Takeaway cup)
Cafes vary on cup sizes, the coffee they use is going to vary slightly and it's important to constantly taste and dial in your coffee. For an 8oz Takeaway cup (one of the more common takeaway sizes) start with a double ristretto, a shorter, more concentrated espresso shot.
Use 20g of ground coffee and aim for a 1:1 ratio yield meaning about 20g of liquid espresso ends up in the cup.
This gives you a syrupy, full-bodied base that cuts perfectly through the milk in a larger takeaway cup. It ensures your customer gets that bold coffee flavour even after adding milk and foam.
For Dine-In (Ceramic 6oz cup)
For a smaller cup, go with a single normal shot. That’s a 1:2 ratio, 22.5g in → 45g out, but you’ll only catch one side of a split shot into your cup. (22.5ml in your cup)
This single shot delivers a balanced flavour that’s clean, rounded and not overpowering. Using a double ristretto in a 6oz cup can dominate the milk, so the single normal shot of espresso keeps it silky and not too full on.
Pro tip: When making coffees in a busy cafe, splitting shots saves time you can pull two coffees from one portafilter, maintaining consistency and speed. Often working on building a coffee recipe is a combination of balancing quality with efficiency.
Why Coffee Ratios Matter
Espresso is the foundation of every milk coffee. The coffee to water ratio determines the strength, body, and sweetness of your cappuccino. We've built a coffee to water ratio calculator that you can use to calculate ratios and workout how much yield to use! Learn more about espresso basics.
- Too short (e.g. under 1:1): the shot can be overly intense, bitter, or heavy.
- Too long (e.g. over 1:3): it becomes thin, watery, and sour.
- Just right: the espresso complements milk without being lost in it.
For example:
- A double ristretto (1:1 coffee to water ratio) gives you a dense, syrupy base that maintains coffee flavour in a milk-heavy drink.
- A single normal (1:2 coffee to water ratio) allows for nuance and sweetness, perfect for smaller cups where less milk is added.
Think of this as a flavour equation: The larger the milk volume, the stronger your espresso base needs to be.

Espresso to Milk Ratio Chart Guide
| Cup Size | Espresso Volume | Milk Volume | Espresso-to-Milk Ratio | Taste Profile |
|---|---|---|---|---|
| 6oz (Dine-in) | 45ml | 120ml | ~1:2.5 | Balanced and silky. Espresso still clearly defined. |
| 8oz (Takeaway) | 45ml double ristretto | 150ml | ~1:3 | Rich and punchy, traditional Melbourne cappuccino. |
| 12oz (Takeaway) | 60-70ml | 220ml | ~1:3.5 | Smooth, rounded and milk-forward but not weak. |
| 16oz (Takeaway) | 90ml (double + split) |
Once your espresso is ready, the next important ratio is how much milk you add. A cappuccino generally has:
- 1/3 espresso
- 1/3 steamed milk
- 1/3 textured foam
- That’s not a strict mathematical rule, but it helps maintain balance.
You want the espresso flavour to hold its ground against the milk’s sweetness. If you use too much milk, you’ll lose depth and body. Too little, and it’ll taste too intense.

Balance Is The Goal
How do you know you've used the right amount of milk to coffee ratio, strength of espresso ratio and thickness in milk? A well made cappuccino should taste balanced, creamy and should have:
- A rich, bold espresso flavour.
- Smooth, velvety milk that enhances sweetness.
- A layer of microfoam around 1.5cm thick, creamy and spoonable, not airy.
It’s not about dumping milk on espresso, it’s about achieving harmony between both elements.
If you're looking for an easy way to just add milk and get perfect textured milk thats even been heated to the perfect temperature at home then I can't recommend the Subminimal NanoFoamer Pro Gen 2 enough, it can even double as a milk jug if you don't have one!

2. The Role of Milk in a Cappuccino
The espresso recipe stays the same as for a flat white or latte, the magic of a cappuccino lies in how you texture the milk.
When it comes to milk-based drinks, the difference between a flat white, latte and cappuccino is all about the amount of froth (microfoam):
| Drink | Milk Froth Depth | Texture |
|---|---|---|
| Flat White | 5mm | Thin, glossy microfoam |
| Latte | 10mm | Slightly thicker, still smooth |
| Cappuccino | 15mm | Creamy, dense, spoonable foam |
It’s important to remember: we’re talking microfoam, not big, bubbly froth. The goal is creamy, glossy milk that integrates beautifully with espresso, not airy foam that separates.
3. Texturing the Milk
A cappuccino requires more aeration than a latte or flat white, because of this it's best to always use cold milk (relevant for alternative milks) as this gives you more time to aerate your milk before reaching the proper temperature.
On a commercial espresso machine:
- Flat white: 1-2 seconds of aeration before sinking the steam wand fully.
- Latte: 3-4 seconds of aeration before sinking the steam wand fully.
- Cappuccino: 5-6 seconds of aeration before sinking the steam wand fully.
If you’re using a smaller home machine, you will likely need to add air for a little longer.
- Start with cold milk and a clean milk jug.
- Introduce air early, by lowering the jug slightly so the steam wand just kisses the surface. You should hear a light tearing sound, not a loud hiss.
- Once you’ve introduced enough air (about 5-6 seconds), raise the jug slightly to submerge the wand tip and fold the milk, this integrates the foam evenly and removes any larger bubbles.
- Heat to around 65 °C. Anything hotter starts to dull the sweetness of the milk. You can use a thermometer to see the exact temperature of milk, otherwise if you are well practiced you can just use your hand to feel the temperature of the milk jug.
The finished milk should look glossy, thick and velvety, not overly fluffy. You should be able to swirl it in the jug like wet thick paint.
4. Pouring the Cappuccino
Takeaway Cup
Pour directly onto your espresso shot, holding the jug slightly higher at first to integrate the milk, then lowering it to build a gentle dome of textured milk on top.
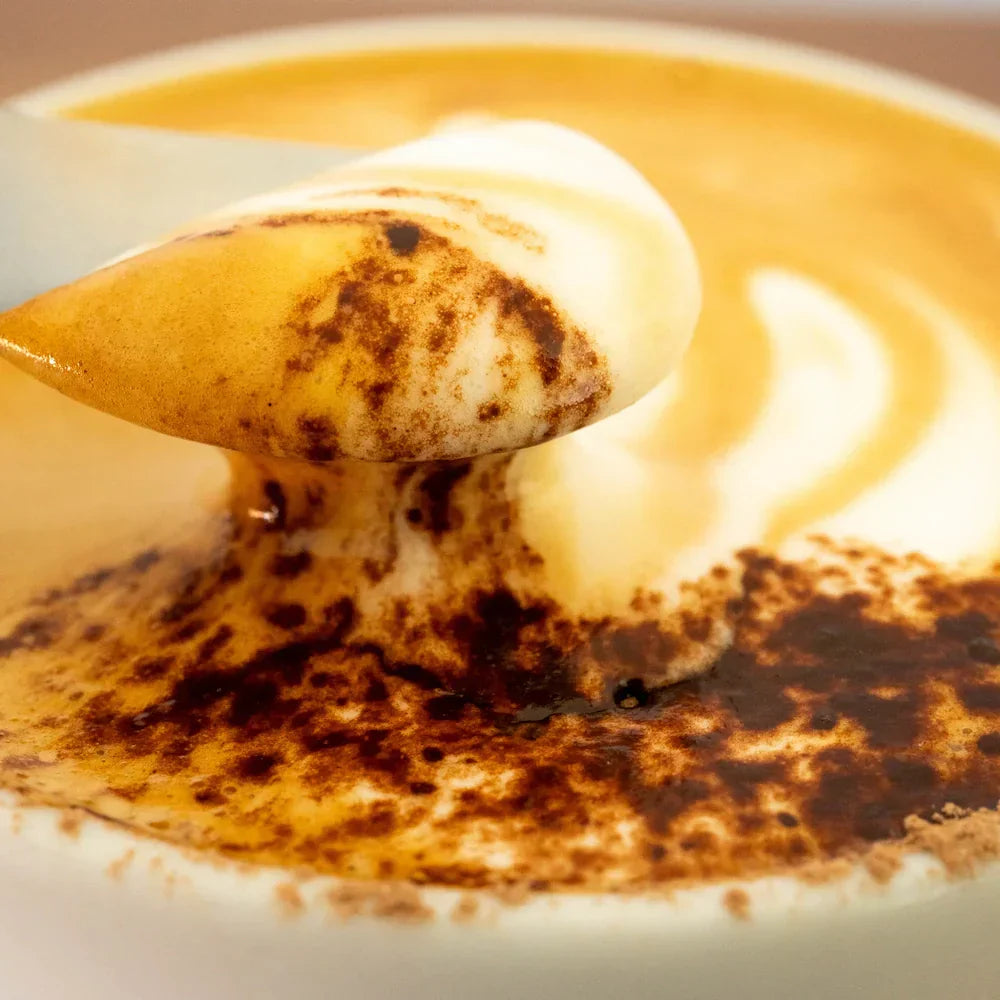
In Australia, it’s common to finish a cappuccino with a dusting of chocolate powder. It adds aroma and that nostalgic café touch.
Aim for a balance of visible foam, smooth texture, and a rounded, full-bodied coffee beneath.
Dine-In Cup
For a dine-in cappuccino, you can experiment with chocolate under the milk (on top of the shot before pouring).
If you try this technique:
Dust lightly, too much powder can clump. Pour slowly so you don’t mix the chocolate into the coffee and create a mocha.
This gives you that distinctive chocolate layer on top while still keeping latte art visible if you want to get creative.
5. Presentation & Customer Experience
A quick checklist for what a great cappuccino should have:
- Have a silky, rich foam layer about 1.5cm thick.
- Be smooth and creamy, not dry or overly aerated.
- Offer a balanced flavour, coffee strength matching the milk volume.
- Be served at around 60-65°C so it’s drinkable immediately.
Finish your takeaway cup neatly, add a tasting card or bean info tag if you’re serving customers, and keep your workspace tidy, presentation extends beyond the cup.
Mastering a cappuccino is about precision and balance. It’s easy to think of it as just a 'frothier latte,' but when made well, it showcases both your espresso craft and your milk-texturing technique.
Once you’ve nailed this recipe, you’ll be able to confidently replicate the drink across your menu from flat whites to lattes, adjusting only your aeration time and cup size. Whether you’re serving customers or just perfecting your home routine, the goal is always the same: rich espresso, creamy milk, and a perfectly balanced cup.


