How to clean your AeroPress
Estimated read time: 3 minute
Share this article

So you have purchased an AeroPress / AeroPress Go !!!
Congratulations, you are a proud owner of one of the most popular and versatile brewers around. With a huge fan base the AeroPress has been making delicious brews ever since its creation in 2004, thanks Alan Adler!
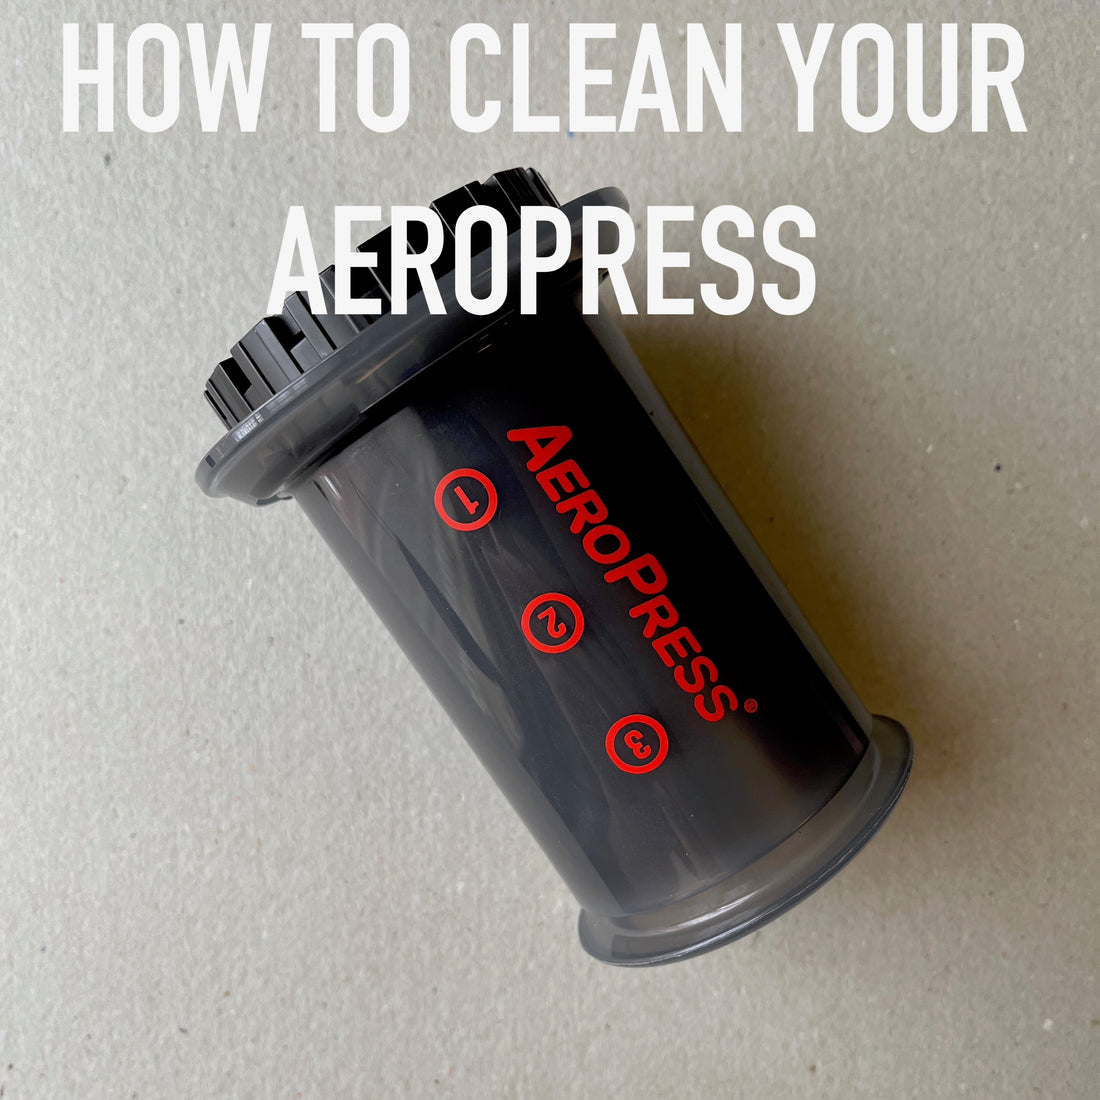
In this blog post we are going to address how to clean your AeroPress to keep making yummy brews for years to come. First we need to cover the parts of your AeroPress, so you know what we are talking about. :)

First things first, Above is an AeroPress. If you don't have an AeroPress here is a super quick run down on how they work:
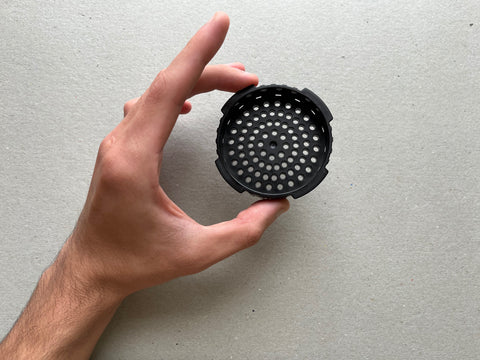
Insert an AeroPress Micro-Filter into your Filter basket and attach this to your chamber, place this on top of a cup / server and pour your ground coffee into the chamber followed by your hot water. Wait for your coffee to brew and then insert your plunger and push down until you hear a 'hiss' sound... Voila, Coffee!
How to clean your AeroPress (Daily):
Ok, so you have just finished brewing your coffee. Straight after your brew ensure there is no hot water left in the chamber and remove the filter basket. Pop out your spent coffee grounds (Puck) and give everything a quick rinse under hot water. Optionally you can use a sponge and some dish soap as well, however it is not necessary as the seal does most of the cleaning when pushing out the coffee.
How to clean your AeroPress (Weekly):
Over time you may notice build up, especially depending on how well you clean your AeroPress on the daily. If you rinse and wash every day or two then don't worry about this step, your AeroPress should be in great sparkling condition as is.
If you only rinse your AeroPress after brewing you will most likely notice some residual build up of coffee grounds, oils, fines and other lovely stuff. If you haven't noticed the build up by sight you may encounter a wafty smell or unplesant taste in your brew, this is your sign to give your AeroPress a thorough clean.
Some of the most common areas for coffee residue to build up is around where the Filter basket meets the Chamber, the Seal and the brewing end of the Chamber.
Wash everything with warm / hot soapy water and a regular sponge. Avoid using anything too abrasive. Let your AeroPress air dry and you are good to go!
Is AeroPress dishwasher safe?
Yes, AeroPress is dishwasher safe! disassemble your AeroPress completely and wash away. This is not necessary to wash it after every use but every now and then wont cause any damage and will bring it back to life.
AeroPress Vinegar trick:
Over time you may notice some tough stains, sticky components and build up that just wont let loose. Treating your AeroPress to a Vinegar soak will remove much harder build up and avoids using damaging abrasives. Here is how:
- Create a solution of 3 parts warm water to 1 part Vinegar ( Regular strength vinegar)
- Combine your water and vinegar in a large bowl that will fit all of your AeroPress parts.
- Let your AeroPress soak for 30 minutes or better yet, overnight.
- Remove your AeroPress parts and rinse off all the vinegar solution, you don't want your next brew to taste like vinegar.
- Optionally, after soaking your AeroPress you can use soapy water and a sponge to remove any build up, it should be much easier than before.
AeroPress Seal Hack:
Attached to the AeroPress Plunger is the AeroPress Seal, made from a tough flexible rubber this part scrapes down the wall of the Chamber when brewing and helps you build up pressure without giving way.
The seal is always in two states, compressed or relaxed. When inside the Chamber your AeroPress Seal is compressed, once you push through all the way and you hear a 'pop' sound your AeroPress Seal in relaxed.
For the longevity of your AeroPress it is best to store your AeroPress with the seal relaxed. Over time you may notice that your AeroPress isn't creating that tight seal it first did and I found this to be the first part to wear.
First, be sure to clean and soak your AeroPress Seal in hot water /and vinegar. If cleaning does not help it may be time to purchase a new Seal. Replacing this part is a fantastic and inexpensive way to rejuvenating your AeroPress back to how it was brand new.
How to remove your AeroPress Seal:
Your AeroPress Seal is attached to the Plunger with out any adhesives! it is super easy to remove / replace your AeroPress seal, simply hold the plunger with two hands and pry the Seal off with your thumbs.
To replace your AeroPress Seal, attach one end of the seal and then work your way around stretching the lip of the seal around the plunger nob. After your AeroPress seal is on press down on the centre of the seal to remove any trapped air.
This is important to know how to remove the AeroPress Seal as sometimes coffee residue or water can enter here and linger making bad smells or tastes.


