How to brew V60
Share this article
What is a V60?
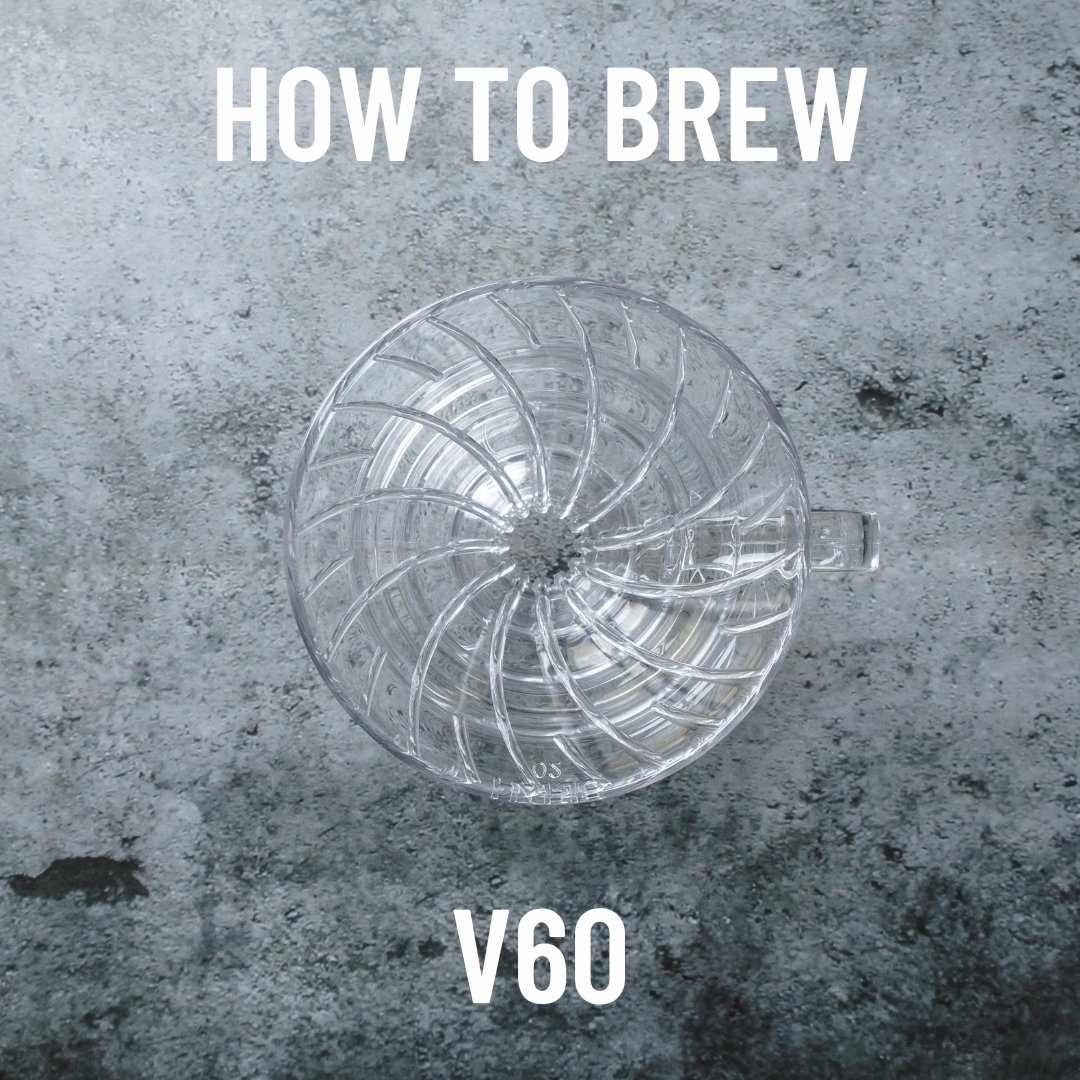
The Hario V60 is one of the most popular pour over conical brewers available. The 'V' in V60 refers to the v-shape of the cone and the 60 is the angle of the dripper. Hario has been around since 1920 and has developed many laboratory and science equipment, their heat proof and lightweight glassware carried Hario's success and it wasn't until 1950's when Hario invented the 'V60'. 
Different material V60's
The Hario V60 is available in 3 sizes (01, 02 & 03) and in a range of different materials. The plastic V60 is an inexpensive entry level dripper that allows you to brew delicious pour over coffee, the plastic material has great heat retention meaning the material is less absorbant and retains the heat better in your brew.
The Ceramic V60 has the same design as the plastic V60 but while made from a thick and Hefty ceramic material, It is available in a wide range of coloured glazes and because of this, is the choice of many brew bars around the world.
The Glass V60 is available in a couple different styles, one glass V60 is made with a plastic detachable base, another with a glass base and it is also featured in the Hario Switch, an immersion / percolation style V60 dripper.
The Metal V60 is available in a stainless steel, Matte Black and Copper colour. The Metal Hario V60 is surprisingly lightweight and by far my personal favourite is the Matte Black V60, the way it interacts with the filter paired with the heat retention makes for a fantastic consistent brew.

What does a V60 coffee taste like?
When brewing with a V60 and using the recipe below your coffee will taste very different depending on the origin, process and roast of your coffee in saying this your pour over will have some similarities and regardless of the beans you use you should expect to taste a higher amount of acidity, a balance between body (the texture) and flavour, some coffees taste fruity, boozy, floral, ashy, chocolaty and so much more.
What filters can I use?
There are many different products available to be used for conical coffee filters, the main difference is the material. Paper filters are the most popular as they are inexpensive and widely available, there are also Mesh filters made from a stainless steel / metal, there are also metal filters made with a sheet of metal and then holes punched out.
Paper filters are a great place to start, these are usually the most inexpensive option and widely available.
Abaca filters are high quality and sustainably sourced, they taste great however they still are single-use.
Cotton filters are reusable and naturally sourced, the Aji Filters are priced at around 2 packs of paper filters and yet they will last much longer than the paper filters do.
How many pours?
There are many brew methods to chose from, in saying this for beginners we recommend brewing a 3 stage pour. A 3 stage pour uses the same amount of water but you divide this into 3 seperate pours, usually you wait for the water to draw down before initiating your next pour.
The amount of pours will also depend on the total amount of water you are using, for our 2 cup recipe I prefer to use 5 pours as this is a more manageable way to pour a larger amount of water.
V60 Brew Time:
The time it takes for you to finish pouring and for the coffee to completely drawdown into your cup / server is known as your brew time. Brew time is a general indicator of how coarse / fine your coffee is ground however tasting your coffee still remains the best way to dial in your coffee.
How to brew V60 for 1:
For 1 person we like to use 15g of coffee and a 'coffee to water' ratio of around 1:16, this makes your total brew water around 250g. For this recipe we will use water at around 95ºc (you can change this to a higher temp for darker roasts and lower temp for lighter roasts).

15 grams of coffee ground medium-fine. 20-30 Clicks on Comandante grinder for a starting point.

There are many brew methods to chose from, in saying this for beginners I recommend brewing a 3 stage pour. A 3 stage pour uses the same amount of water but you divide this into 3 seperate pours, usually you wait for the water to draw down before initiating your next pour.

Pre-wet your filter by folding down the 'mountain' (the edge with the perforations) and then holding your filter in place while pouring hot water through your dripper, this both pre-wets your filter removing any papery taste and pre-heats your dripper to increase thermal consistency. DON'T FORGET to discard this water!
Add your coffee grounds to your dripper and then tare everything out on your scale.

Pour 30-50g of water over your coffee grounds, this first pour is also know as a 'Bloom' and helps to introduce the coffee & water and release most of the trapped gasses to prepare for brewing. I found that pouring high and using a higher agitation didn't effect the flavour negatively for this first pour, in fact it is more important that you evenly wet all the coffee grounds.

For your second pour slowly pour in circles trying not to disturb the bed of coffee too much, I aim for a medium amount of agitation when pouring. Continue pouring until your total brew weight reaches 150g and then let your water draw down.

Kettle tip: When pouring with a gooseneck kettle, don't fill it up all the way the less water in your kettle will help give you more control with your flow rate. Tilting your kettle on its side like the image above will also help to slow down your pour be careful when doing this as there is a risk that water will spill out from the lid.
After your water has completely drawn down begin pouring your final pour, I use a low agitation and fill up my brewer until I reach 240-250 grams of total brew water.

Give your dripper a final swirl and wait for your water to draw down to reveal what should be a flat bed of coffee grounds.

I hope you found this recipe useful, we will soon write a blog post on how to dial in your coffee so stay tuned for that. If you brewed using this recipe share with us your experience over on Instagram!
Happy Brewing!


